Can you believe it’s that time of year again? That’s right – 2018 is over and tax time is around the corner. I know that feeling of dread starts to weigh on your mind as you put your books off for just another few hours, days, or weeks…and next thing you know, it’s March 1st and time is running out. You begin to panic and are mad at yourself for letting it happen again. You are up against the tax deadline and don’t know where to start.
This stress is all preventable! Please do not do this to yourself again this year.
I am sure you are wondering where to start, so we have created these steps to help you have a successful year-end!
Here is your 3-step year-end to do list:
Generate report of unsold inventory held by Amazon at 12/31 (It is NOT necessary to do this at the stroke of midnight on New Year's Eve)
Reconcile your 1099-K to your date range report (summary) in Amazon Seller Central
Calculate Cost of Goods Sold (COGS)
1. Generate Report of Unsold Inventory:
Seller Central > Reports > Fulfillment > Monthly Inventory History
Select "Download"
Choose your time frame. For January 2019, you will want to determine your unsold inventory as of 12/31/18. Choose "Exact Months" from the Event Month dropdown and choose December 2018 - December 2018. You want to know what was on hand at the end of December 2018.
NOTE: Wait until December has ended before running December’s report.
Click "Request Download"
Report status will say "In Progress" which will eventually change to a clickable download button.
Click "Download"
A .txt file will download; open that file.
Open excel if you haven't already.
In the .txt file, click "CTRL" and "a" at the same time to select all data
Click "CTRL" and "c" to copy.
Move into excel; in an empty worksheet, click "CTRL" and "v" at the same time to paste.
Delete the columns titled "average quantity" "fulfillment-center-id" "detailed-disposition" and "country" (To do this, right click on the column title and then select delete.)
After you have deleted those columns, click "CTRL" and "a" at the same time to select all data.
Sort > Data
Sort by: end-quantity and value (choose largest to smallest)
All of the rows that have zero quantity will now be at the end of your data set. Delete those rows. (You don't have to do this, but I like to remove these rows to avoid confusion.)
Add a column titled "purchase price." This is where you will enter your purchase price. Hopefully it's embedded in your SKU so you can do this pretty easily. If not, there are options, but in an ideal world you have added this to your SKU.
The final column you will add a formula that multiplies the quantity by the cost; title this "unsold inventory."
Add a total at the bottom of the inventory value column and VOILA, you have the value of your unsold inventory at 12/31!
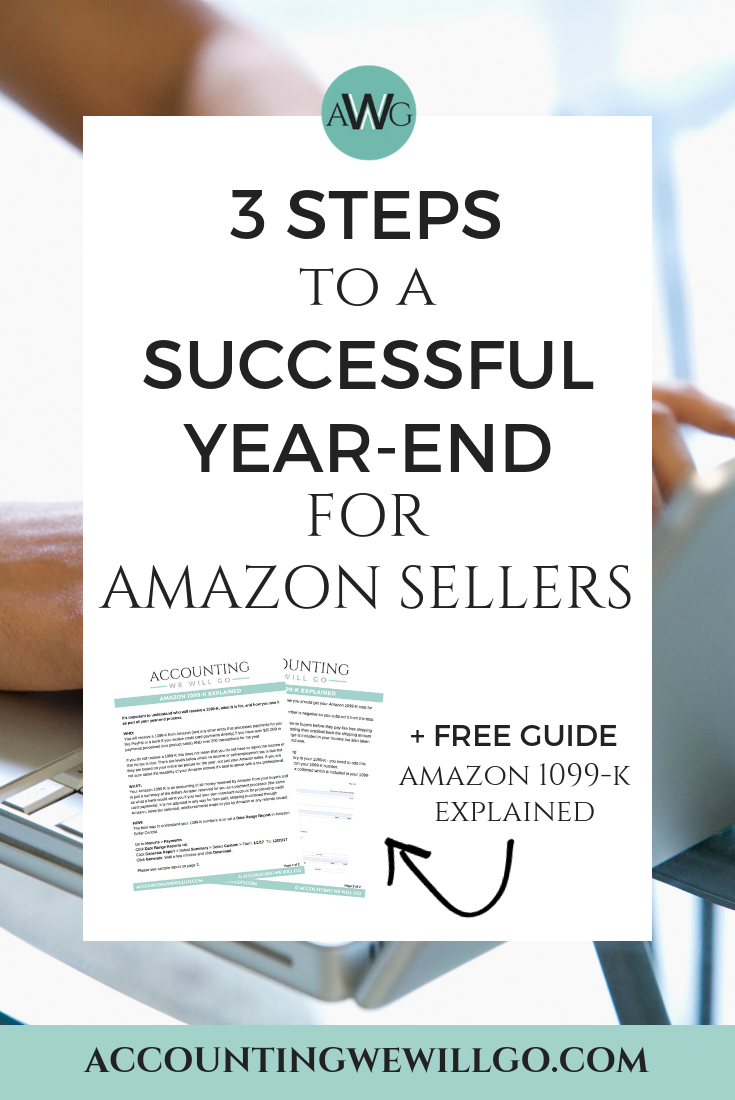
2. Reconcile Your Amazon 1099-K
Enter your information below and get our FREE guide Amazon 1099-K Explained.

3. Calculate Cost of Goods Sold (COGS)
Step 1: verify ending inventory per Amazon
Step 2: manually calculate COGS =
Beginning Inventory (from QuickBooks or prior year tax return)
Add: Purchases (from accounting system - Ex. QuickBooks Online))
Less: Ending Inventory (from Step 1)
Equals: Cost of Goods Sold